Vibrant green, perfectly tender vegetables that we can prepare in advance. Simply reheat to serve.
We use a technique called blanching to quickly cook, then cool the vegetables.
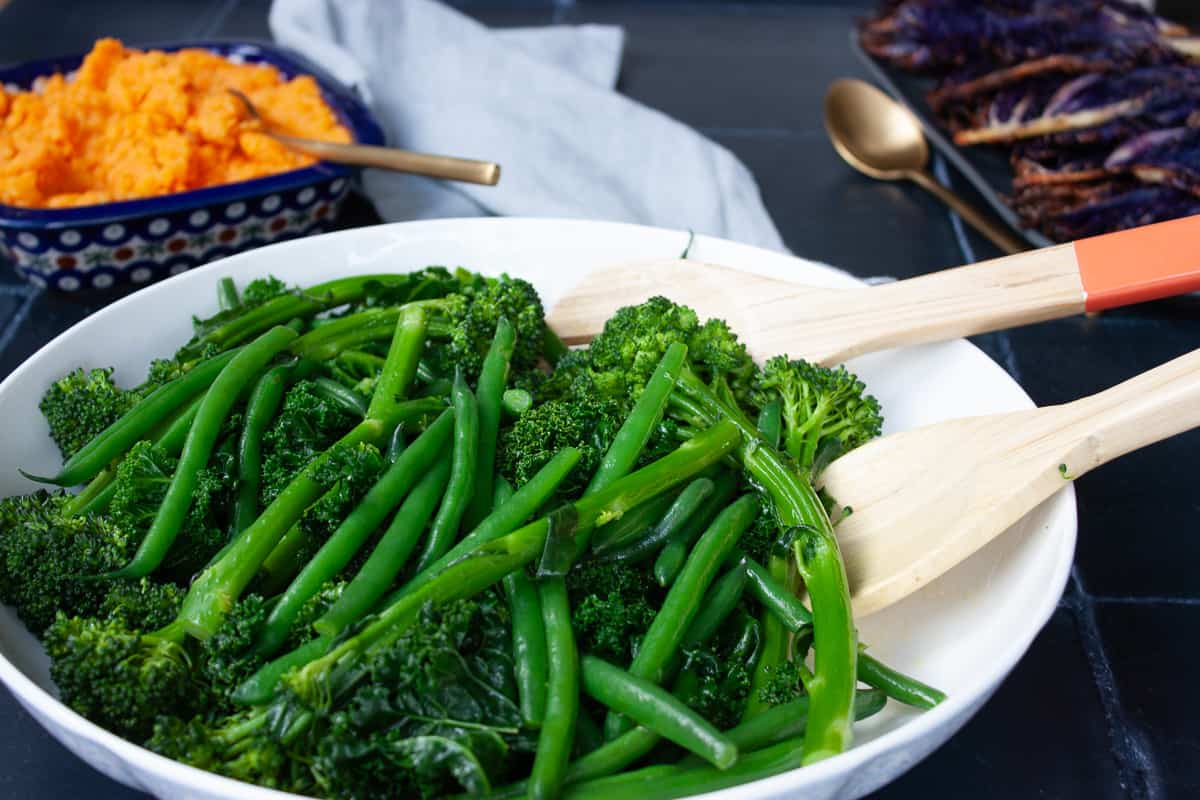
Low-stress entertaining
There can be fine line between cooking greens so that they don't taste raw, but also so that they are not soggy.
You've got people coming over for dinner and you want to serve greens. The last thing you want to worry about is getting the cooking time just right while pouring drinks.
Blanching veg enables you to pre-cook, drain, dry and chill the veg up to 3 days in advance.
All you need to do at the time of serving is heat through in some butter and olive oil.
If you wanted to keep this vegan, you could use just olive oil or coconut oil.
Blank canvas
These green vegetables are neutral enough to go with most meals. Think roast dinners, curries, stews, pies, steaks; even a lighter dish such as quiche. You can't go wrong with tender-crisp green greens to add colour and texture, to bulk out a dish with goodness.
🥘 Ingredients
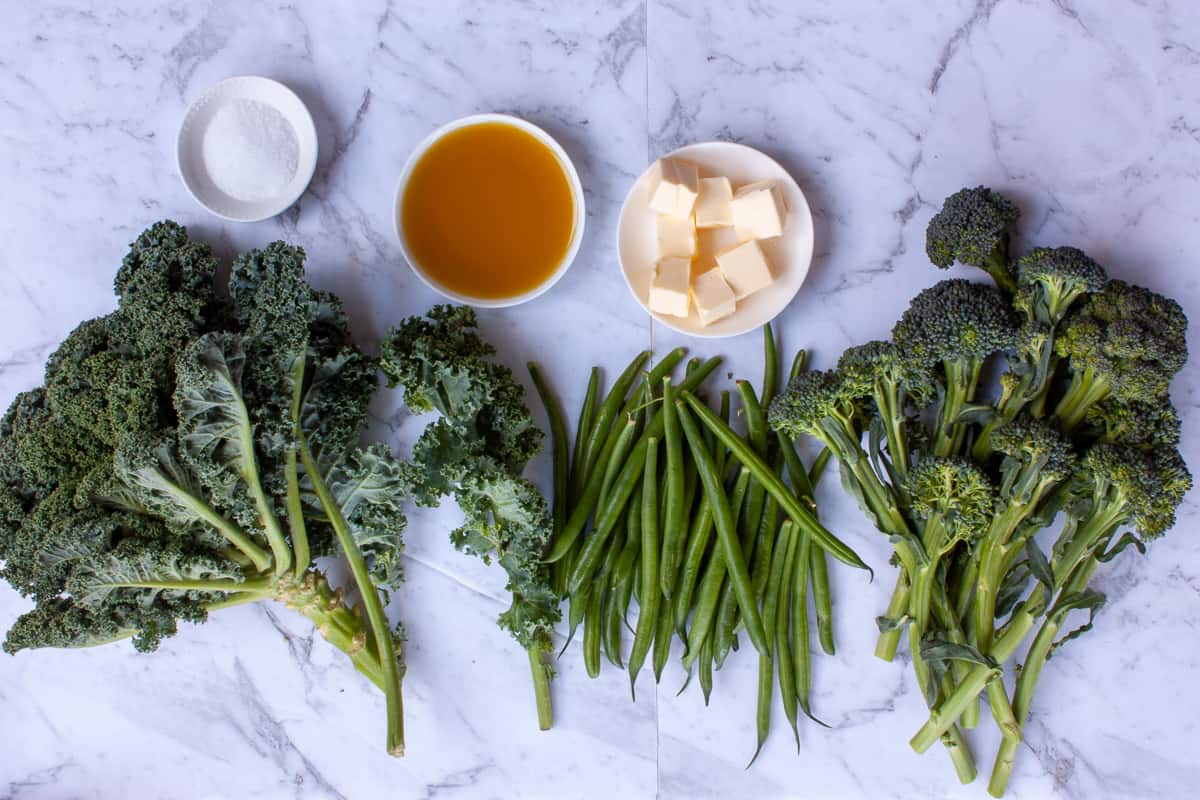
Green Veg - there's no need to weigh ingredients. I've given weights because I know some of you prefer that as a starting point. Think about what each person might have - a broccolini stem or two, 5-6 beans and a small handful of kale leaves. Multiply that by how many people you're feeding.
Salt - the salt is used to season the veg all the way through. It seems like a lot of salt. Just like when you're cooking pasta, most is drained away and will not end up in the finished dish.
Butter & Oil - we toss the blanched veg through hot melted butter and oil to reheat before serving. The fat adds flavour and a nice gloss for a touch of luxury.
Ice - not included in the photo above (but probably should have been - apologies!). We need to have really cold water to rapidly cool the veg after cooking.
Are these vegetables low FODMAP?
Yes. Even if you ate a quarter of this total amount (which would be a big portion), it would be within normal limits for a low FODMAP diet.
❓FAQs
What is blanching?
When we blanch vegetables, we cook them briefly in heavily-salted boiling water. We then plunge them into cold water to halt the cooking process. The technique deactivates enzymes that can negatively affect the flavour, colour and texture. This allows the vegetables to be stored in peak condition.
What's so good about blanching?
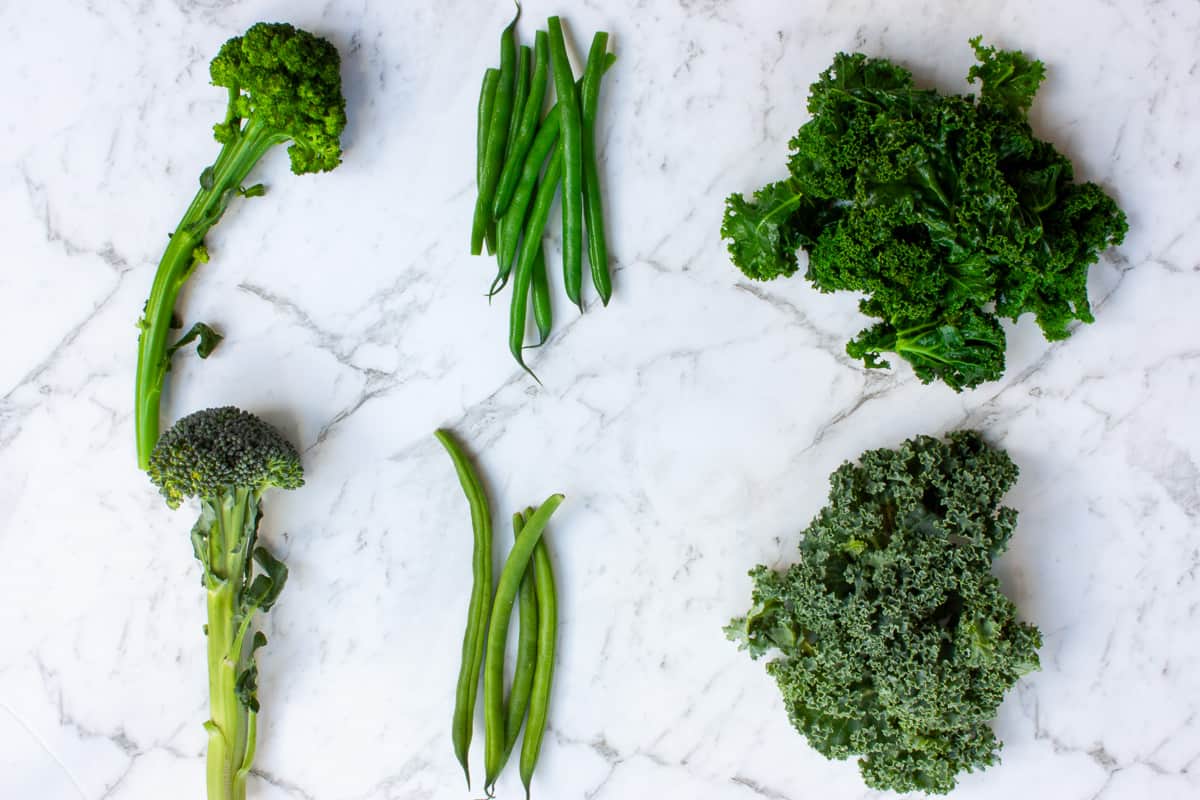
This results in vibrantly coloured, well-seasoned vegetables with texture. They'll look fake green and have a fantastic crisp texture without tasting raw. It's like the vegetables become the best version of themselves 😊 Blanched foods are cooked so briefly that they retain all their nutritional qualities. Win-win! Check out the photo below comparing the raw veg at the bottom with their blanched counterparts on the top. They look so fresh and vividly green. It makes you feel good just looking at them!
Why would you bother blanching?
There are a few reasons why you would go to the effort of pre-cooking your vegetables in this way:
- it makes their colour become more vivid and attractive
- you can reduce the pesticides and microbes on food so that you can store the vegetables safely for longer. Maybe you bought a glut of seasonal produce at the farmers' market or something was on special at the supermarket?
- great for when you want to serve the vegetables at room temperature for example, for a salad, but you don't want the vegetables to be raw
- once blanched and stored appropriately, blanched vegetables simply need a quick reheat to be ready to serve. This is how restaurants would prepare for a busy service. You can use the same principle prepping vegetables for a week's packed lunches, or for a dinner party.
What are top tips for blanching?
- have your iced bath ready before you start boiling the vegetables
- ensure you add the veg to water that is boiling/has come back to the boil between batches. The temperature will reduce as the vegetables are added. Using plenty of water and cooking the vegetables in batches helps.
- use a timer for accuracy. The vegetables don't need long at all.
- match the cook time to the type of veg. Leaves such as kale only need 30 seconds. Thicker stems such as broccolini need 3 minutes.
- ensure the veg is immersed in the water and not floating on top. You can press down with a skimmer.
- remove the veg swiftly from the water using tongs or a spider. Briefly shake off excess hot water and transfer to your iced bath.
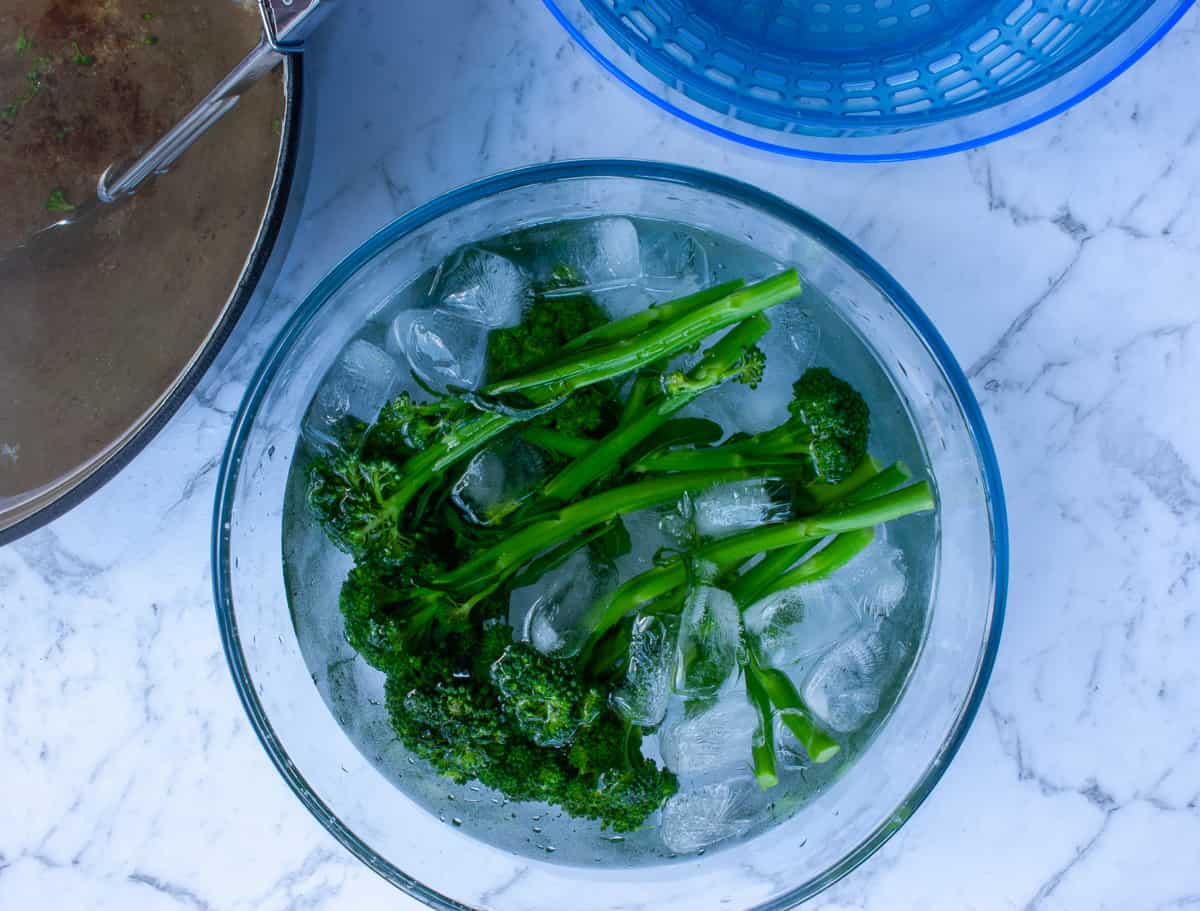
- allow the vegetables to cool in the ice bath for as long as you cooked it for. Fingers are easier/gentler than tongs for removing them. Try and leave the ice cubes behind.
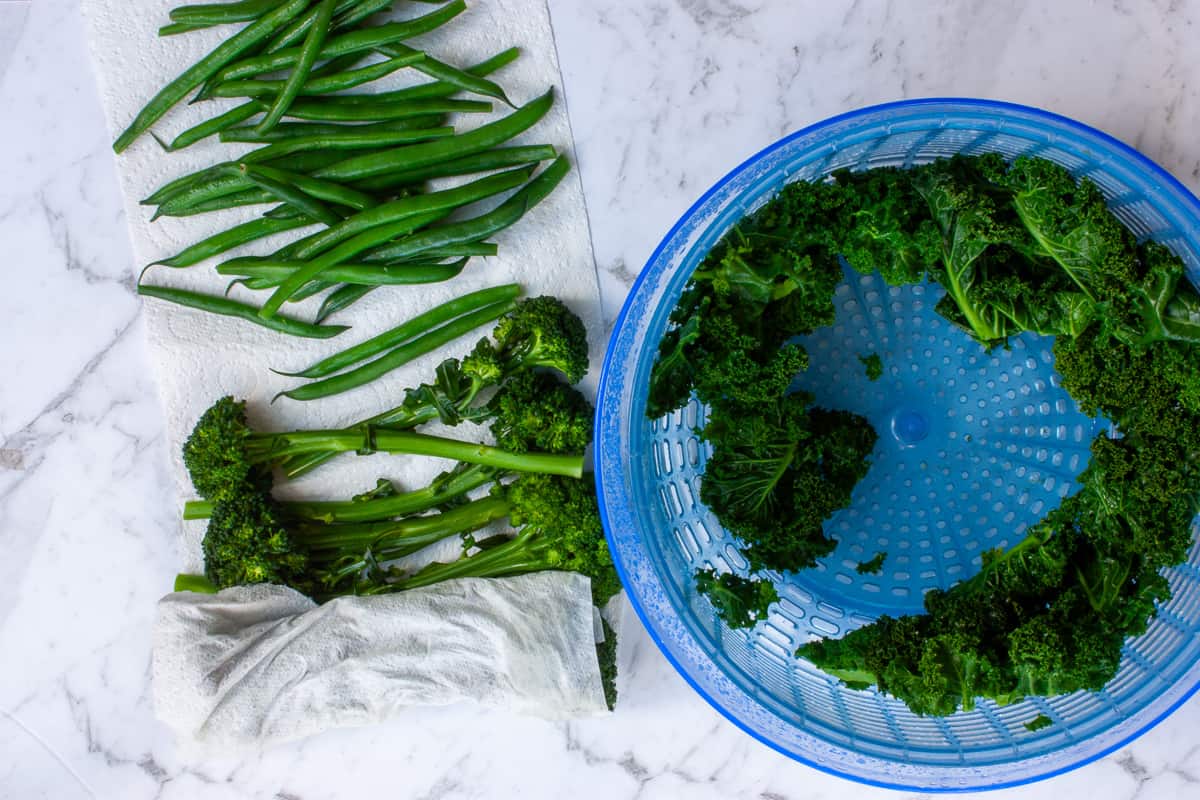
- a salad spinner is handy for gently and easily drying the vegetables. If you don't have one, you can drain in a colander and pat gently with paper towel.
How much salt do you need to add to the water?
A lot. Think of the water as a brine. Saltier than pasta water (which is often under-salted). Don't forget, very little of that salt is actually going to end up in the food. The salt serves to add flavour, enhance colour and give lasting power to the vegetables.
🔪 Instructions
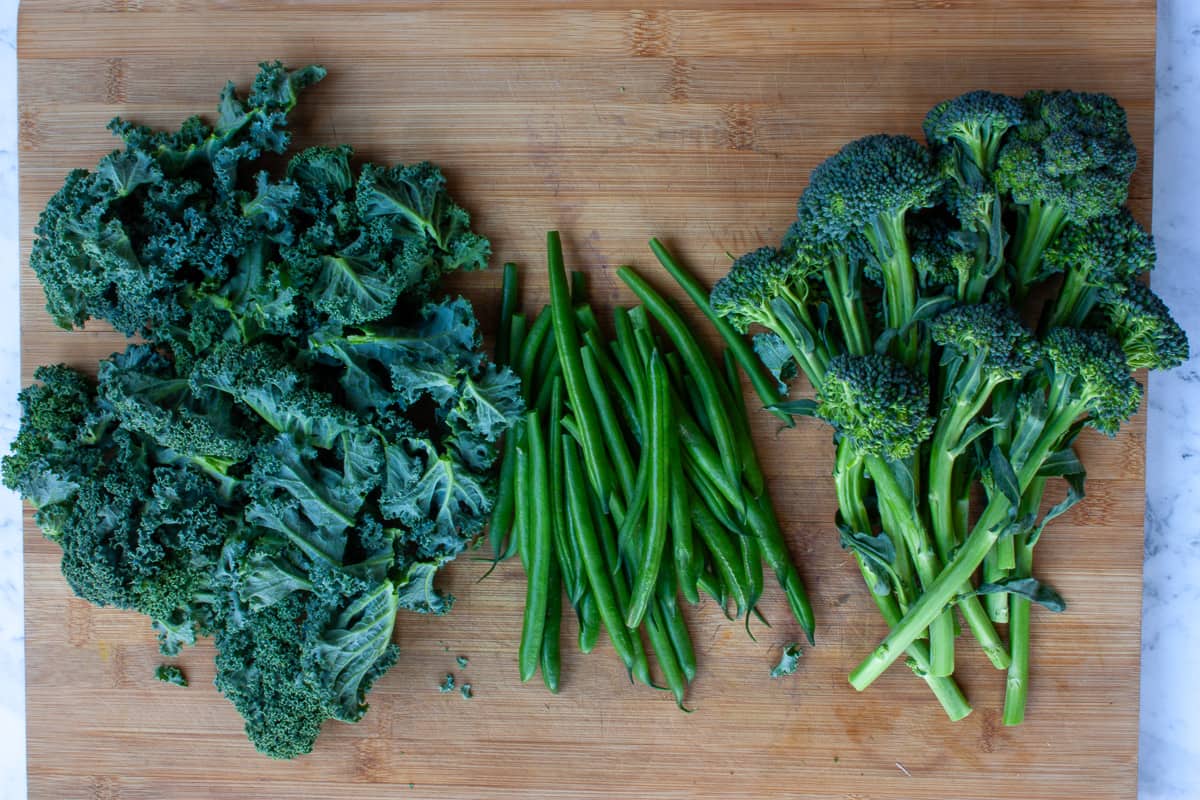
Prep the vegetables. You might not need to do anything with the broccolini. If any of the stems are thicker than the others, you can cut down through the stems of these (but leave attached towards the top). Trim the stalks from the green beans and strip the leaves from the kale.
Keep the pointy ends on the beans!
They're so pretty (and very edible). Do people cut them off because they think they should, or because it's easier to lop off both ends than only the stalk end? I'm always baffled when I serve people green beans and they cut off all the little pointy ends 🤷♀️
Stripping kale stems the easy way
Put your knife away. There's no need to cut the leaves off the stems or pull the stems apart. Loosely grip the stems towards the bottom and run your hand up the stem towards the tip, collecting the leaves as you go. Quick and easy. If there are still fibrous veins in some of the leaves, you can cut these out.
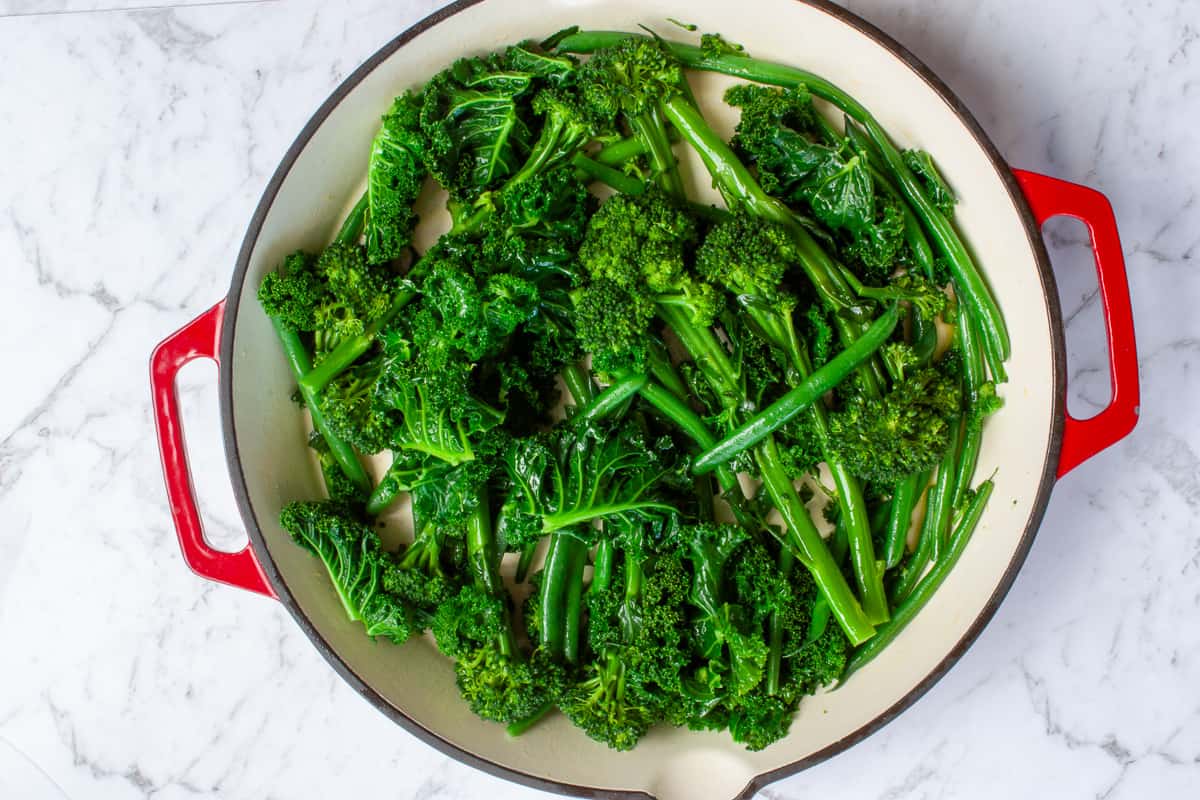
To reheat, simply add the butter and oil to a wide pan over medium heat until melted together. Empty the veg into the pan and gently move around in the hot fat to coat and reheat. Season to taste.
📖 Recipe
Equipment
- Spider or slotted spoon handy for scooping out kale from boiling water
- Tongs good for removing the broccolini and green beans.
- Salad spinner great for shaking off excess water
Ingredients
- 250 g green beans
- small bunch kale (2-3 handfuls of leaves)
- 250 g broccolini about 12
- 3 ½ litres water
- Tablespoon salt
- 4 tablespoon olive oil
- 50 g butter
Instructions
- Prep Veg - Trim the stalk ends of the green beans. Strip the kale off the stems and cut out any thick fibrous veins inside the leaves. Cut down through the stems of any broccolini stems that are thicker than the others.250 g green beanssmall bunch kale250 g broccolini
- Boil Water - add water to a large saucepan. Add the salt. Bring to the boil over high heat.3 ½ litres waterTablespoon salt
- Prepare Ice Bath - tip icecubes into a large bowl. Add cold water.
- Blanch Veg - one vegetable type at a time, add to the boiling water. Bring the water back to the boil. Time three minutes for the broccolini, two minutes for the green beans and 30 seconds for the kale leaves. At the end of the time, quickly remove the vegetable and plunge into the iced water. Make sure they are fully immersed. After approximately the same amount of time they were cooked for, remove to a salad spinner to drain. Allow the water to come back up to the boil before adding the next vegetable.
- Dry & Wrap - lay the spun vegetables down on sheets of paper towel. Roll up and store in ziplock bags or plastic containers in the fridge until ready to reheat and serve.
- Reheat - melt butter and oil together in a large wide pan. Add all the vegetables and toss in the hot fat to reheat.4 tablespoon olive oil50 g butter



Comments