I love the name of these. The idea that scones have bellies. So cute!
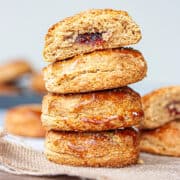
Are we all agreed that the best thing about scones is the cream and jam topping? Jam-bellied bran scones are a ready-assembled version of those. We combine the cream into the scone pastry and the jam is in a little pocket inside, a wonderful surprise. They're so easy to eat. Plus, we don't even have to discuss whether the jam or cream goes on first. I'm cream first by the way - unconventional, I know.
Think of these as a mix of a bran muffin and a scone. We have the nutty complexity of a bran muffin and the luxury of jam and cream-filled scones.
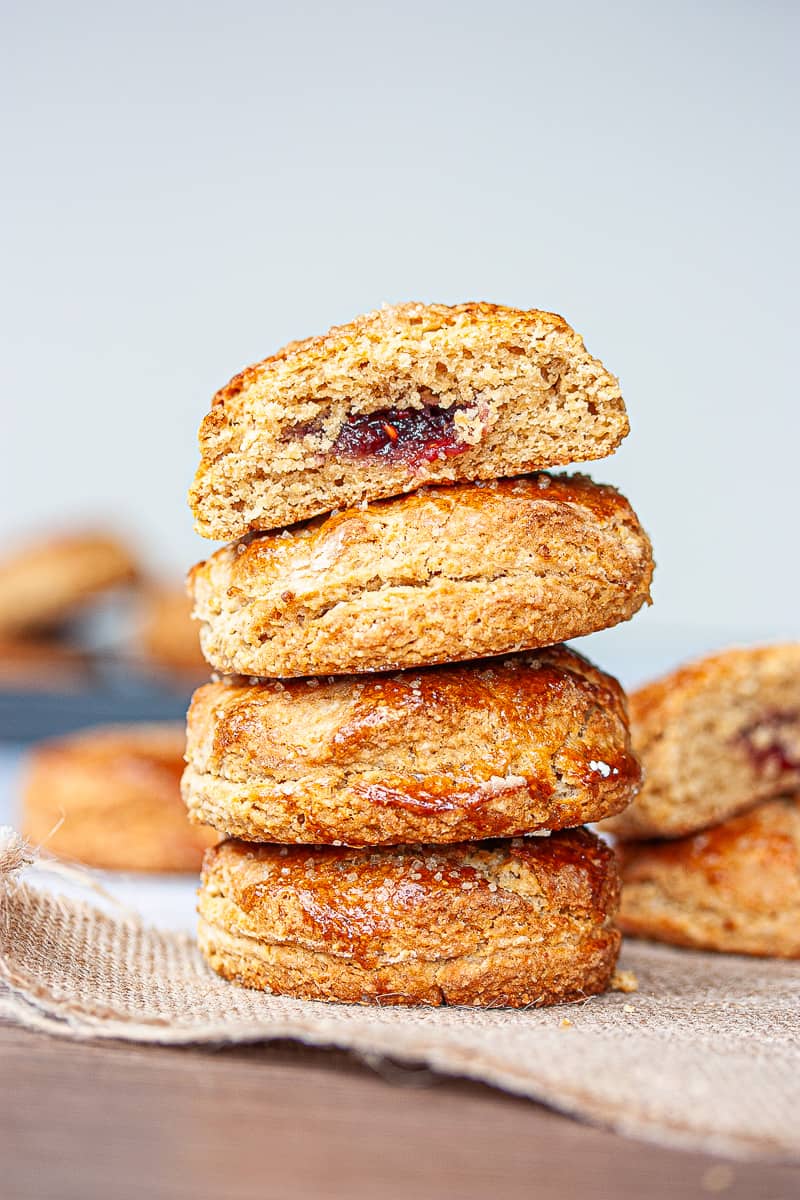
Jam-bellied bran scones are:
- portable
- lunchbox-friendly
- keep for days
- every bite is delicious
The slight tang from the sour cream and the chewy toasty bran flavour stops these being too sweet. The hit of jam in the middle is a hidden treat, a very welcome surprise to the uninitiated.
Traditional scones get dry quite quick and don't keep well. These are wonderfully moist thanks to the high butter and cream content (I never said this was diet food).
🥘 Ingredients
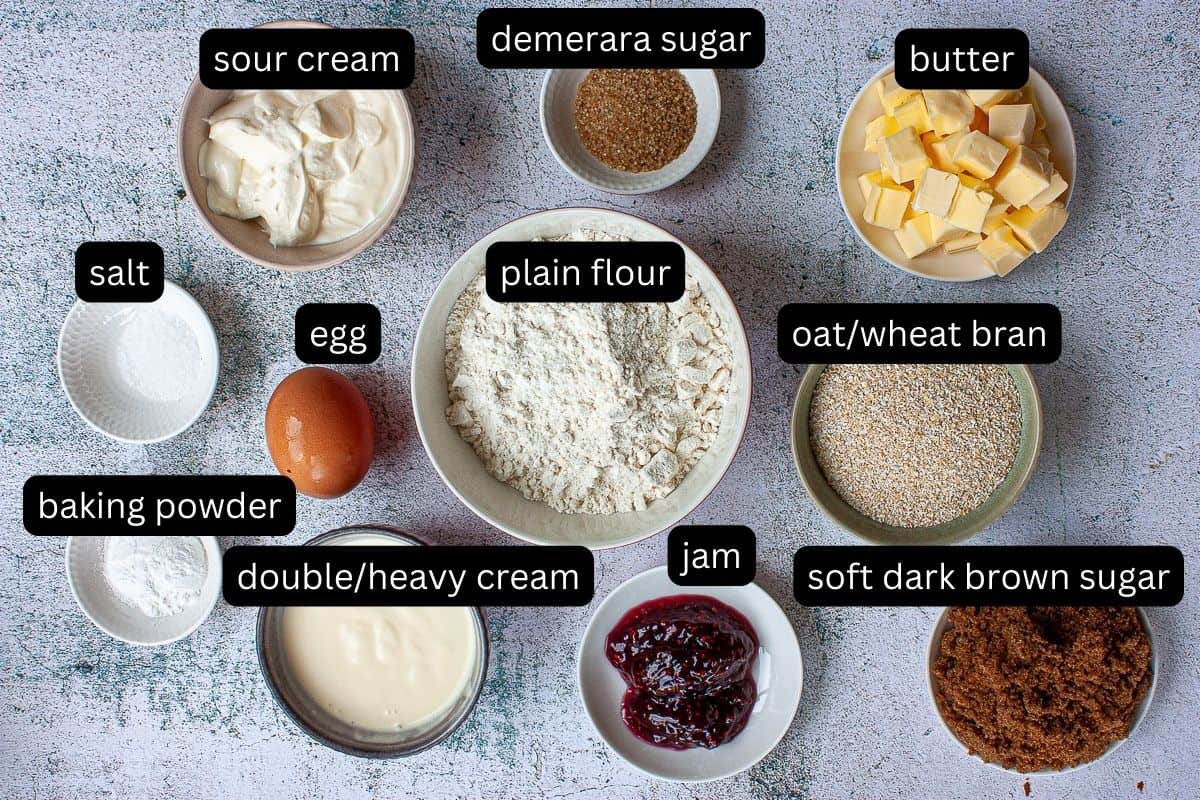
Oat/Wheat Bran - either will work well. Wheat bran is darker than oat bran and will give you darker scones. Bran comes from the outer layers of cereal grains. It's the part that's removed for most of the ways in which we enjoy these grains. Oat bran is removed before the whole oat 'groat' is processed to make rolled oats for porridge. Wheat bran is removed during the milling process to make white wheat flour. Bran is nutritionally dense with lots of fibre, plus vitamins and minerals. It's also quite coarse and tastes quite nutty. It adds a wonderful touch of 'chew' to the scones.
Whisked Whole Egg - used to glue the scone halves together. We also brush it on top for beautiful browning. It also helps the sprinkle of coarse sugar to stick.
Baking Powder - leavening (rising) agent. Baking powder is essential in scone recipes to help the scones rise and become light and fluffy. It works with the sour cream to produce carbon dioxide gas. This gas is trapped within the dough, creating pockets of air. This causes the scones to rise and become tender.
Butter - cold butter in pastry melts and creates steam in the oven. This gives pastry products like scones their characteristic light and flaky texture.
Sour Cream - adds a touch of tang and works with the baking powder to create some 'lift' to the pastry.
Cream - called double cream, thickened cream or heavy cream, depending on where you're from. Any rich cream, 35-45% fat content will work well. The addition of cream makes the pastry richer. This is why we don't need to add cream to the tops of these scones to serve.
Demerara Sugar - this is brown sugar with coarse, amber-coloured crystals. It's less processed than white sugar and adds a touch of caramelized sweetness and texture to the scones.
🔪 Instructions
Keep the dairy ingredients cold
We need to keep the ingredients on the cold side until they hit the oven. This is the secret to the flakiest scones. Cold ingredients stop the butter melting into the pastry before you bake your scones. Instead, you'll have pockets of butter in the pastry (this is a good thing) that create a super-flaky result. Get the butter and creams weighed out and the butter cubed at the start. Return these to the fridge until ready to add to the dry ingredients.
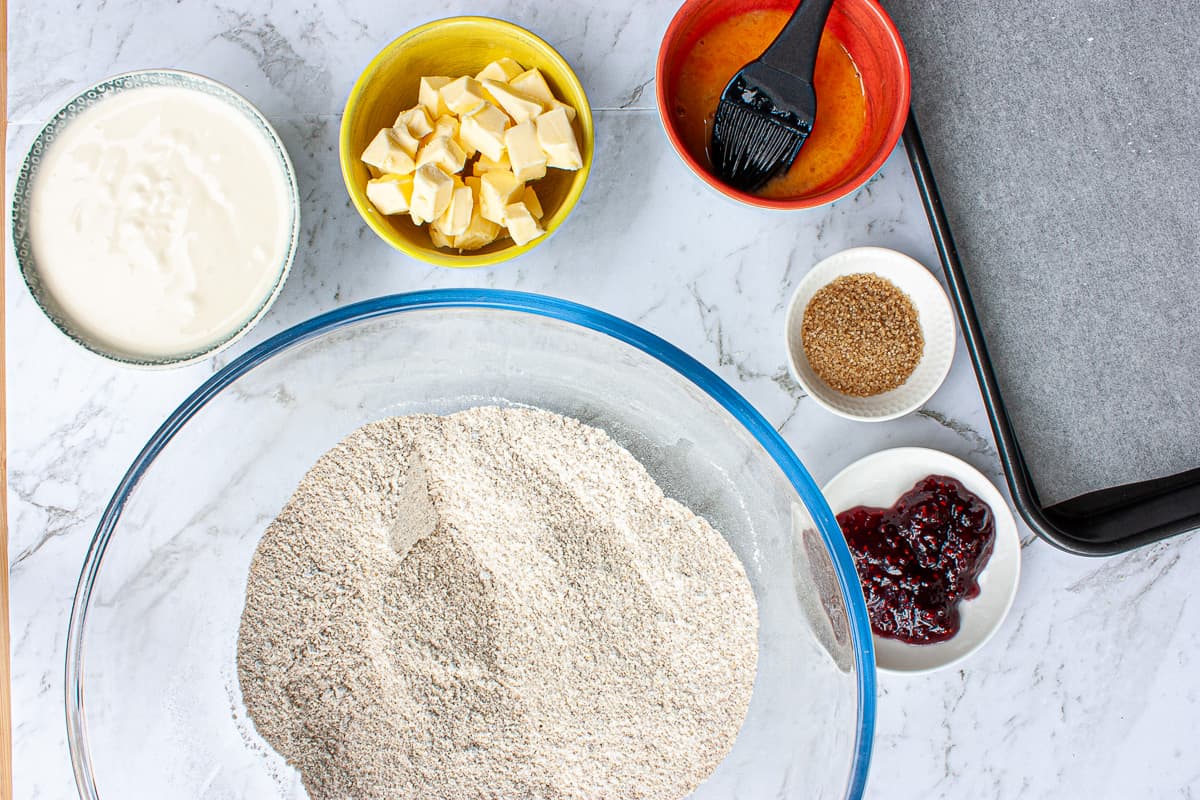
Make space first.
We need some bench top space to roll out our pastry and place our cut out rounds. We only need a tray big enough to take half the rounds for the oven - we're going to pair them up. But we do need somewhere to put all the rounds in the first place! Don't leave your pastry sitting around while you clean the kitchen 😊 Return it to the fridge if you have to.
Combine the dough ingredients quickly.
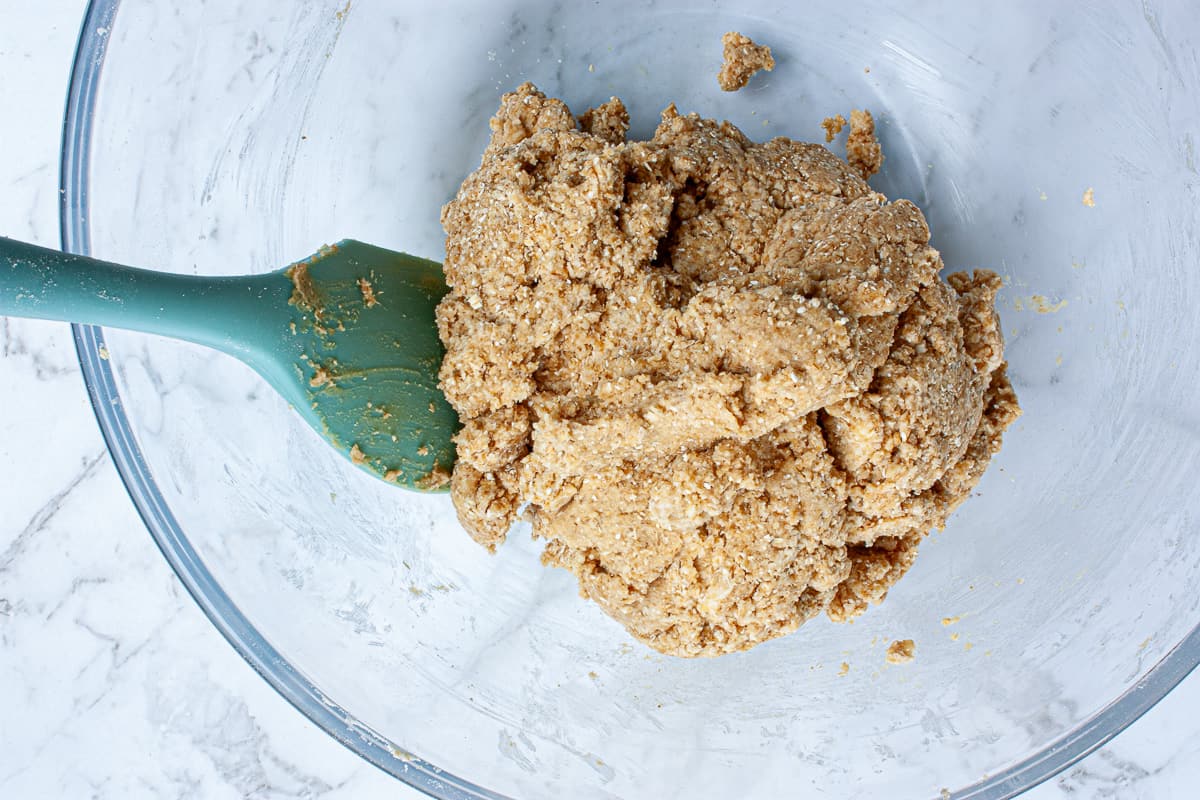
Avoiding using your hands (they're hot!). Don't overwork the pastry. We need to just combine our ingredients until the pastry holds together and we have incorporated any dry flour.
Aim to roll out the dough to about 1cm thick.
These scones are made of two halves, so you'll end up with a finished scone which is about 2cm high. They'll swell a bit on baking too.
I find these wooden pastry guides handy. I bought them online. The paired wooden rails come in different heights. This means you can roll to a consistent thickness quickly and easily. However, for this recipe, it's not a deal-breaker if some rounds are a bit thicker than others. The first few times I made these; I didn't have the guide rails.
The pastry can take quite a lot of extra flour without drying out too much; don't stress. Use as much as you need to be able to roll and cut out the rounds. Don't flip the pastry; that will only mean you'll need to use more flour. You can use a dough scraper or blade of a knife to make sure the dough isn't sticking to the work surface. Lift up an edge of the pastry and throw some more flour under if need be.
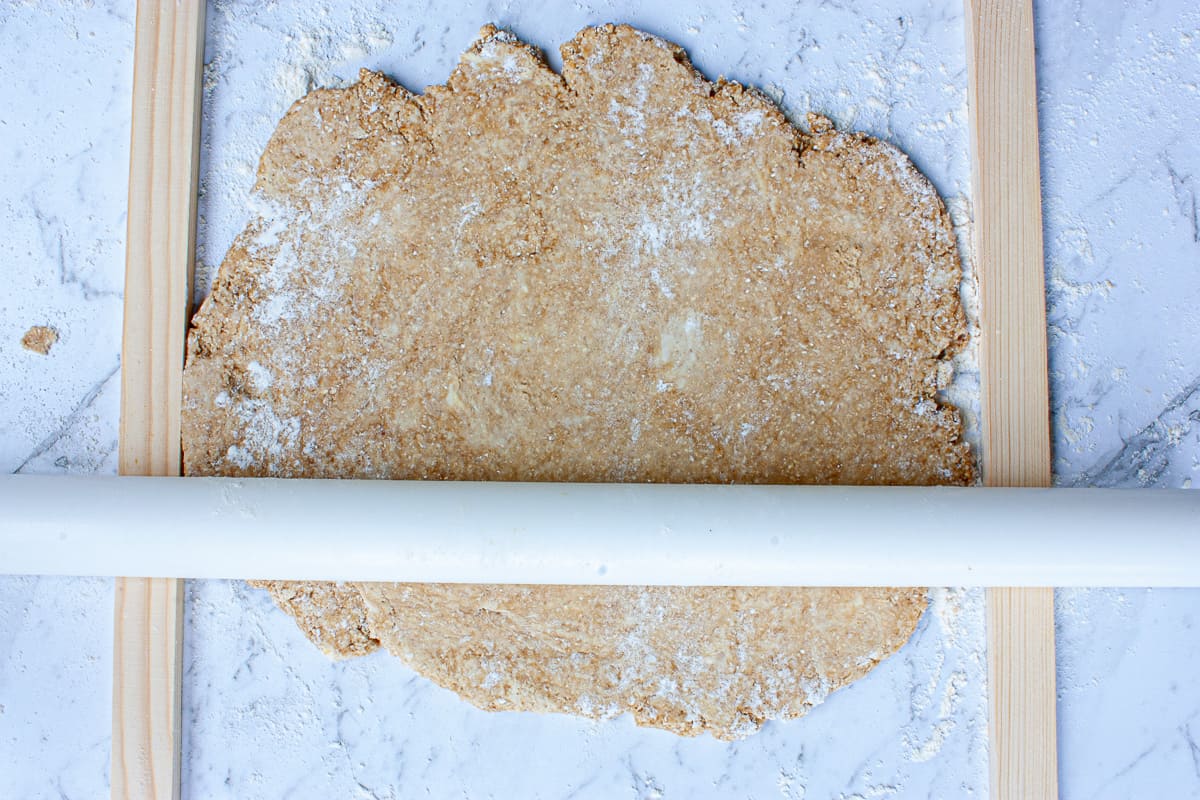
Try to get as many rounds as you can from the first roll of the pastry.
6cm diameter rounds is a good size. You can use a cutter with a smooth or serrated edge.
Re-rolling is not encouraged. It means:
- more handling (and warming of the pastry)
- it takes more time (again, more warming)
- you'll need more flour. This can dry out the pastry and make it more crumbly.
However, re-rolling is inevitable. I hate waste and want to maximise my output. I will use up every bit of pastry 😊 That's how I get twelve 6cm scones. The last few rounds might look a bit 'rough and ready', with more cracks. This is a rustic bake. They still taste amazing.
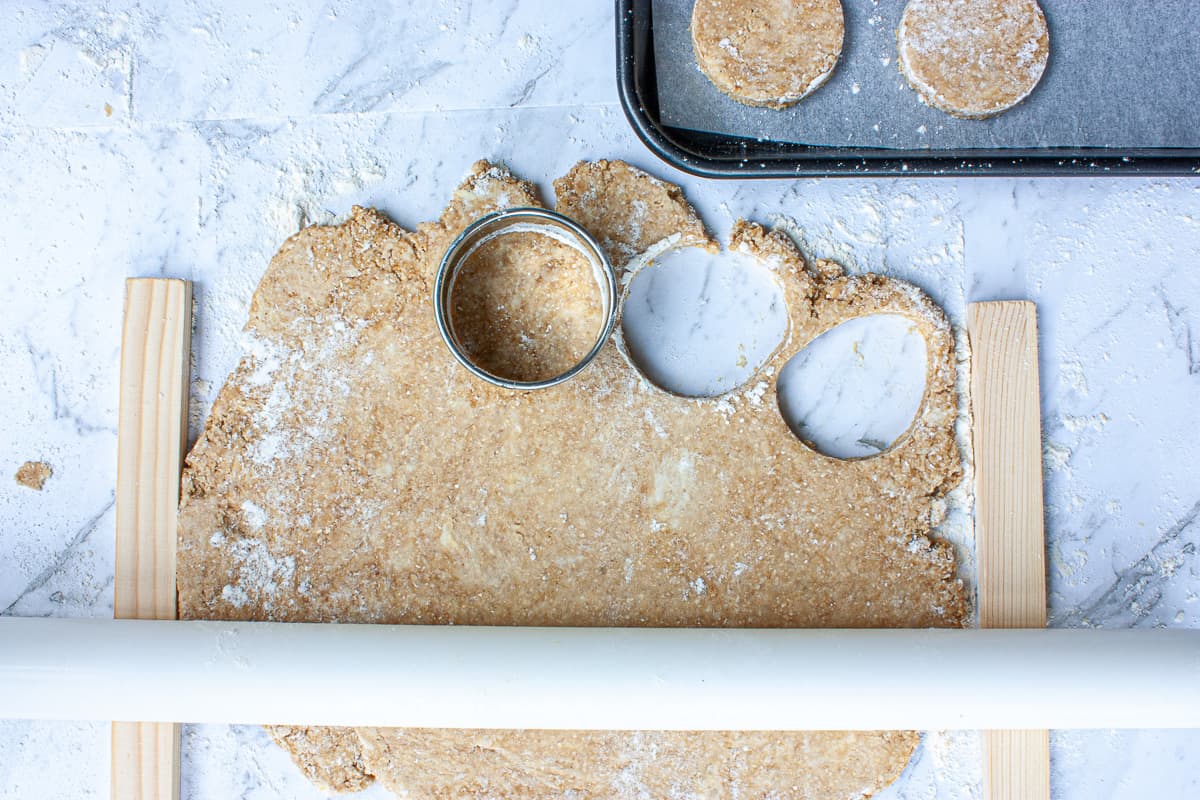
Assembly
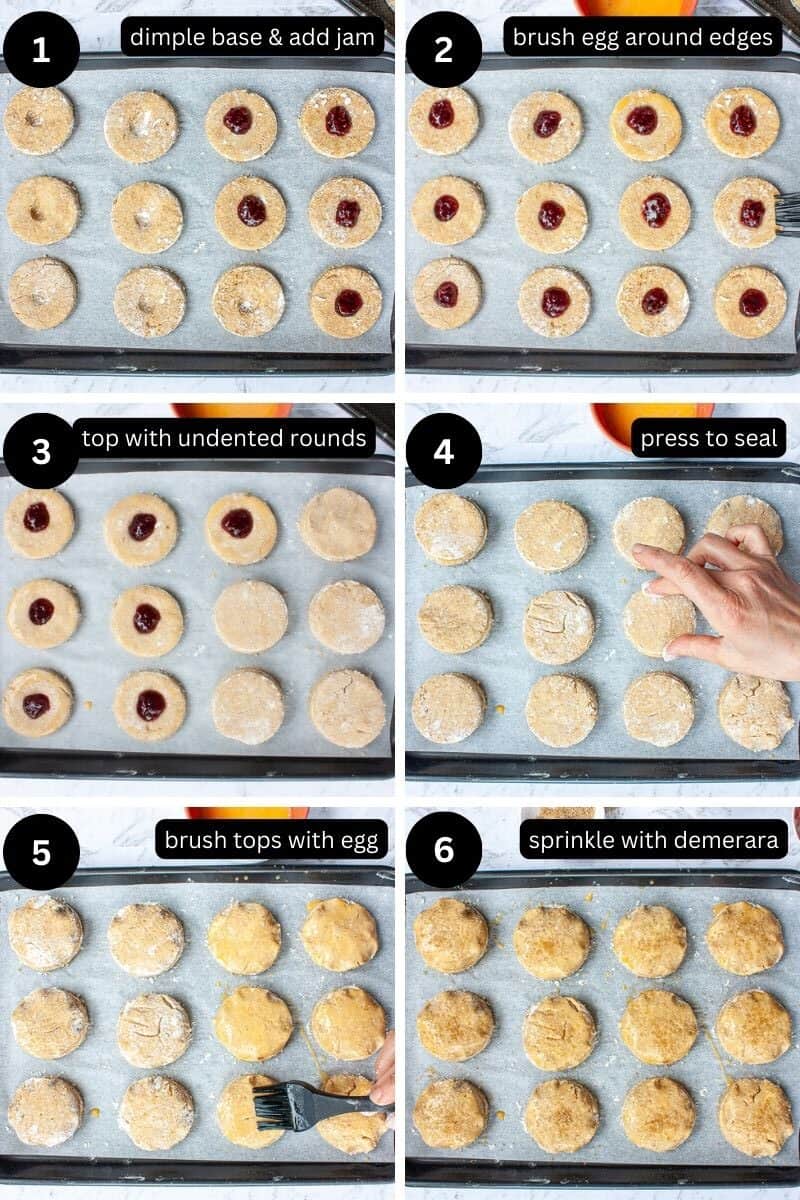
The assembly of these scones is what sets them apart from your ordinary scones. We dimple half the rounds by pressing a floured finger into the middle of what will become the base. Leave a bit of space between the rounds; they'll swell slightly on baking. You can see that mine touched each other slightly once baked, which is fine 😊
Scoop about ½-3/4 teaspoon of jam into each well. Use a little egg wash 'glue' to top with an undented round. Press the top and bottom rounds gently together with your fingertips. Brush the tops with more egg wash and sprinkle with a little demerara sugar.
Refrigerate after making the scones before baking) if the pastry is no longer cool to the touch.
15 minutes should be fine (or longer if you're making ahead of time).
Bake for around 15 minutes, turning the tray half way through for more even browning.
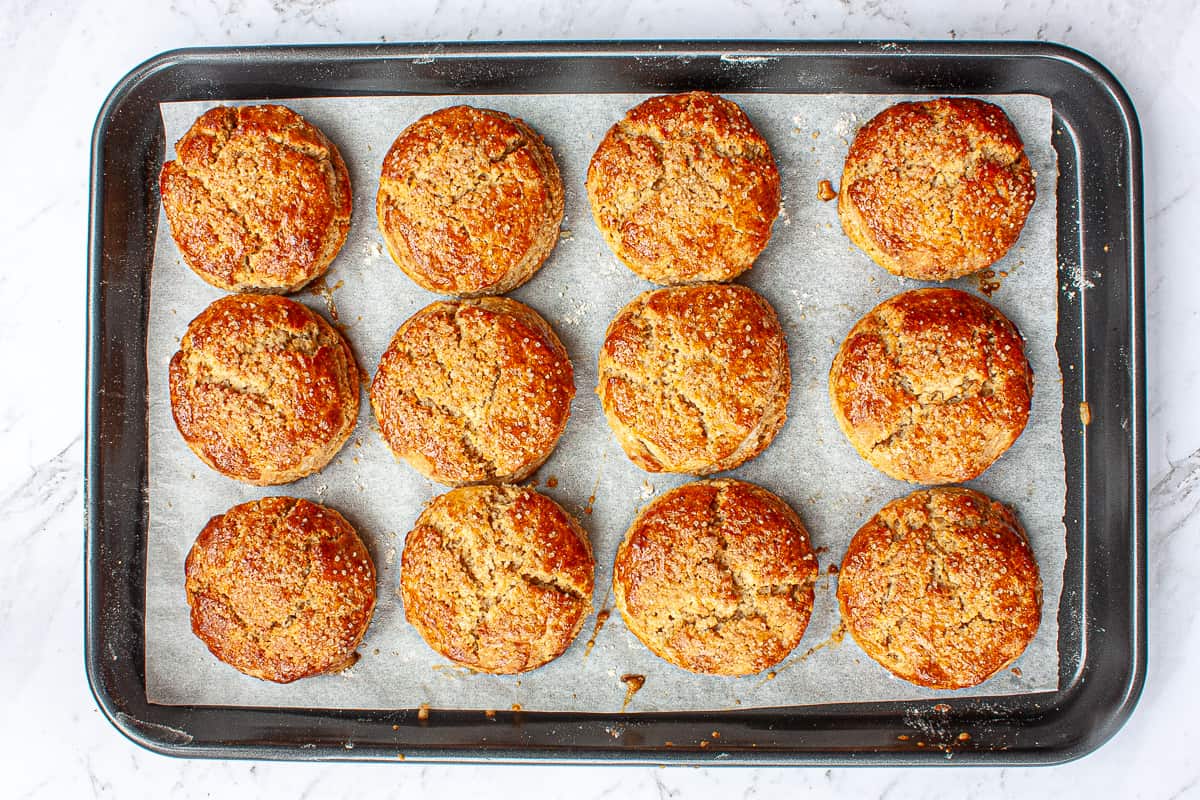
This recipe is (only very slightly!) tweaked from Deb Perelman's recipe of the same name. She's the author of Smitten Kitchen and is one of my favourite food bloggers.
📖 Recipe
Equipment
- You only need a tray big enough to take half the rounds - mine is 35 x 38cm. The scones are made up of two halves that are stacked. However, you do need somewhere to put all the rounds when you first cut them, so a second tray or plate is handy.
Ingredients
- 85 g unsalted butter (cold)
- 120 g sour cream
- 120 g cream minimum 35% fat
- 195 g plain/all-purpose flour
- Tablespoon baking powder
- 95 g soft dark-brown sugar
- ½ teaspoon salt
- 75 g oat or wheat bran
- extra plain/all-purpose flour for dusting
- approx. 3 Tablespoons fruit jam whatever flavour you like, not too chunky in texture
To Top
- 1 egg
- Tablespoon demerara sugar
Instructions
- Preheat Oven - to 190°C.
- Butter & Creams - cut up cold butter into small cubes and put back in the fridge. Combine the sour and double cream in a small bowl and put in the fridge.85 g unsalted butter120 g sour cream120 g cream
- Prepare Tray - line a large baking sheet with baking paper.
- Dry Ingredients - sieve the flour, baking powder and soft sugar in a large bowl. Stir though the salt and bran to combine.195 g plain/all-purpose flourTablespoon baking powder95 g soft dark-brown sugar½ teaspoon salt75 g oat or wheat bran
- Egg - whisk the egg well in a small bowl. It will be easier to brush on if it's not too gloopy.1 egg
- Rub in Butter - add the cold cubed butter and, using your fingertips, rub it into the flour mix until the largest bits are the size of small peas. I find it useful to shake the bowl on the work surface back and forth so that the larger lumps rise to the surface and can be dealt with.
- Creams -gently stir the cold creams through the flour mix using a silicone spatula. Fold through just until the mixture comes together, there is no dry flour visible. Stop there.
- Roll Out - tip out pastry onto a very well-floured surface. Press out gently with floured hands (no need to use a rolling pin). Periodically spin the pastry and use a pastry scraper to ensure the pastry isn't sticking and throw more flour underneath if so. Don't flip the pastry. It will have a texture like mashed potato. You're aiming for about a centimetre thick.extra plain/all-purpose flour
- Cut Rounds - cut out 6cm rounds. Transfer these to the baking sheet as you make them. Keep going until all the pastry is used up. Try and get as many rounds as you can from the first pressing out. Then gather up the scraps and repeat to use it all up. Hopefully you'll end up with an even number of rounds so that you can pair them up 😊
- Dimple & Jam - place half the rounds on the lined baking sheet, allowing for a little space to grow between them. They'll expand a bit in the oven. Use a floured fingertip to gently press a dimple into the middle of these. This is the base of each scone. Dollop about ½-¾ teaspoon of jam onto each of the dimples.approx. 3 Tablespoons fruit jam
- Top & Seal - brush some of the egg wash around the edge of the jammy half. Place an undimpled round on the top of each. Press around the edge gently with floured fingers to seal. Use a thumb and forefinger to go simultaneously north/south, then east/west and then in between these points on each scone.
- Egg Wash & Sugar - generously brush each scone top with egg wash. Sprinkle with a big pinch of demerara (about ¼ teaspoon) per scone.Tablespoon demerara sugar
- Bake - for around 15 minutes until golden brown on top. Turning halfway through. Great served warm.

Comments